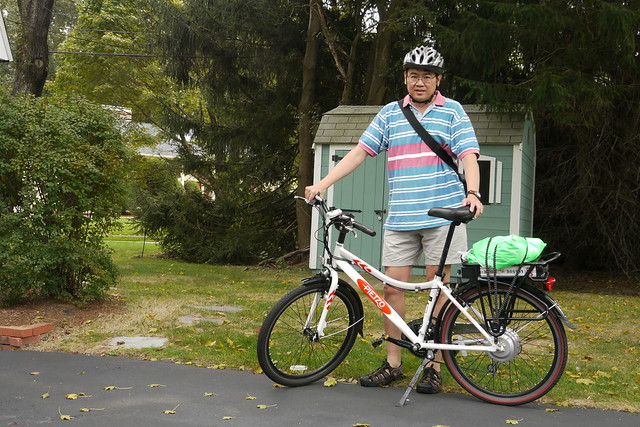
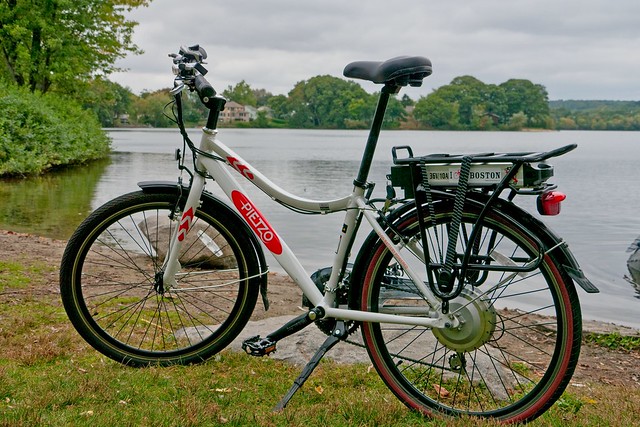
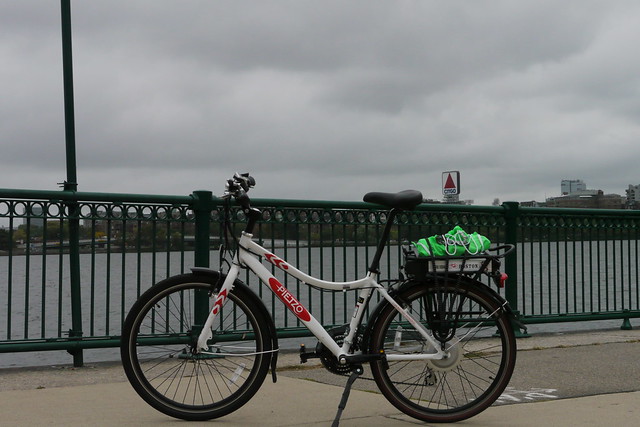
Wednesday, October 20, 2010

Pietzo Electric Bike Part 2

In Part 1 of this blog I wrote about first impressions of the Pietzo Journey electric bicycle.  One of the questions in my mind was whether the bike can take me to Boston and back on a single charge.  I did just that and lived to write about it.  This is then a narrative about that journey and some accompanying pictures.

Mile 0:
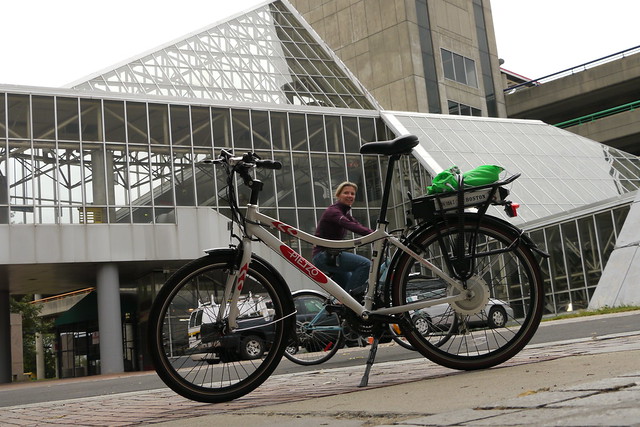
Below is yours truly getting ready for the trip.  It was a cool 65F overcast day in the Boston area.  Some rain was in the forecast so my raincoat was in that green bag.  I am 6’2” and as you can see the bike frame is actually a tad too small for me.  The saddle stem was at the maximum height.  Other than that, I was good to go.

P1040066


The route that I have chosen would take me to Alewife Station in Cambridge through the Minuteman Bikeway. From there, I planned to take Concord Ave towards Harvard Square and then Mass Ave to the MIT campus, and cross the Charles River on the Mass Ave bridge.  After crossing the street, a left turn into Marlborough Street would bring me to the Boston Common.  From there, I planned to go up Beacon Street to the State House, my final destination.  Since the Pietzo has no odometer, the mile figures in this blog are just rough estimates.

Mile 0.5:
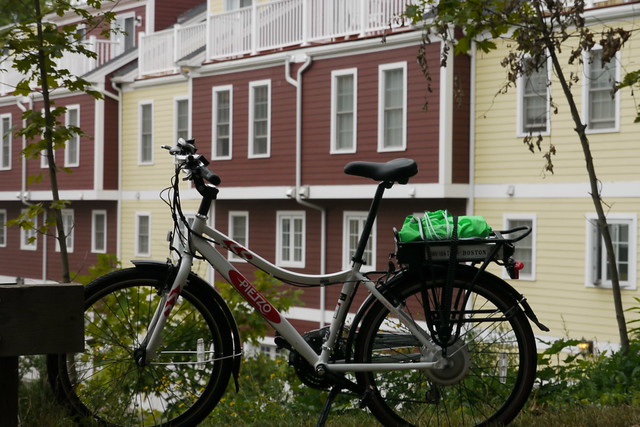
On the way to the Minuteman Bikeway, not far from my house, is Wilson Farm.  This Farm sells a lot of fresh produce and is a favorite destination for many.

P1040067

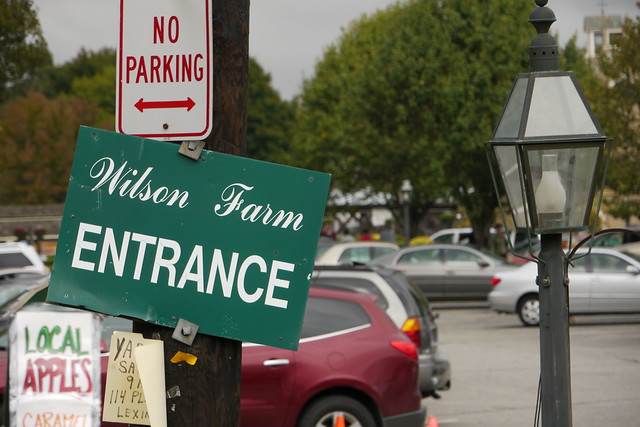
The Pietzo looks quite at home in this setting. With the optional basket, it makes the perfect vehicle for a quick Wilson Farm run.

P1040050

Mile 1.0:
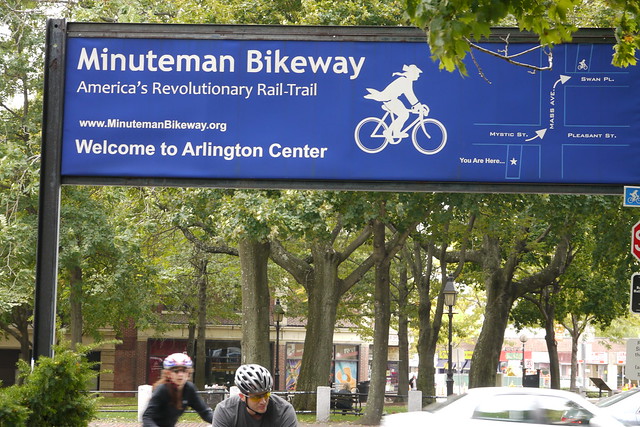
The Minuteman Bikeway runs parallel to Mass Ave in Lexington. You can enter it at many small streets off the avenue.  This is the entrance at Fottler Ave in Lexington.

P1040069

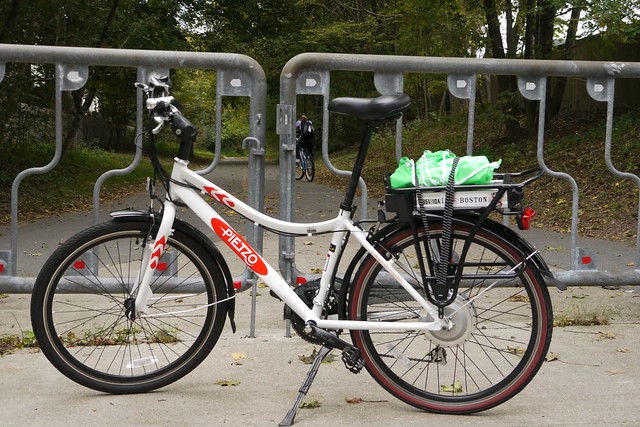
The Pietzo is pointed towards the wind, ready to go east on the Minuteman Bikeway.

P1040074

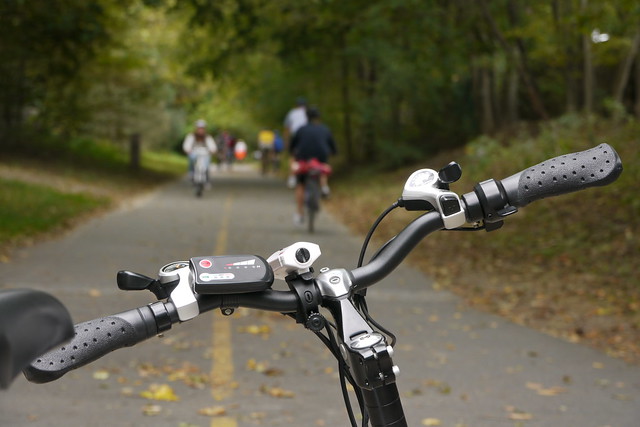
As you can see, the bikeway is very popular during the weekend. People go there to walk, jog, bike, and roller-blade. Traveling east from Lexington to Arlington on the bikeway is very easy due to a slight downgrade. I made that journey with no power assist and rode the Pietzo as a regular, good old bicycle.

P1040079

The Pietzo looks very much at home on the bikeway.

P1040086


Mile 4.0:
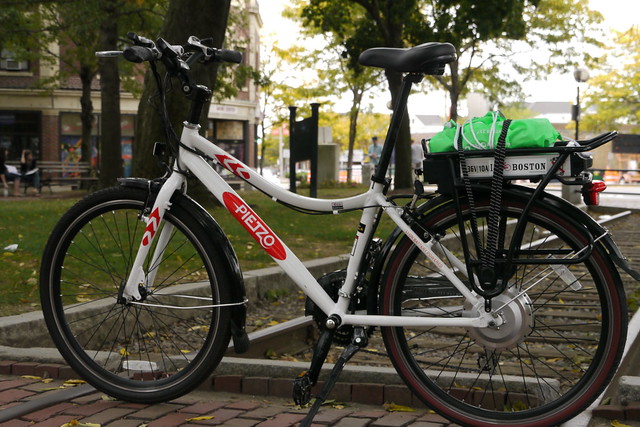
Arlington Center marks the 4th mile of the journey. It has been a very pleasant ride sans-electric assist so far.

P1040089

P1040091

P1040092

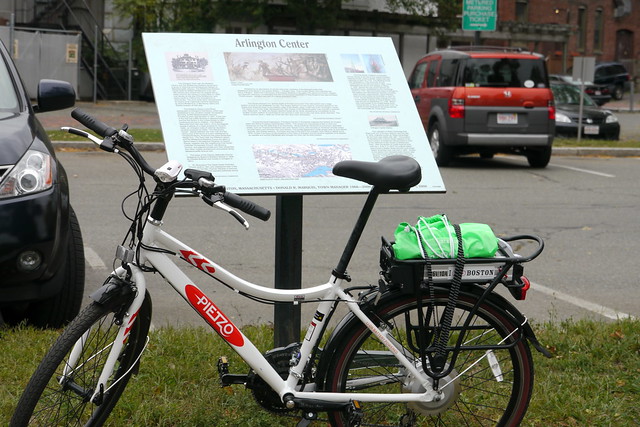
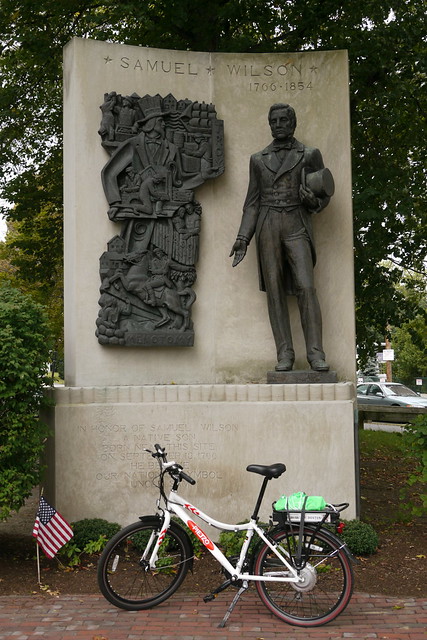
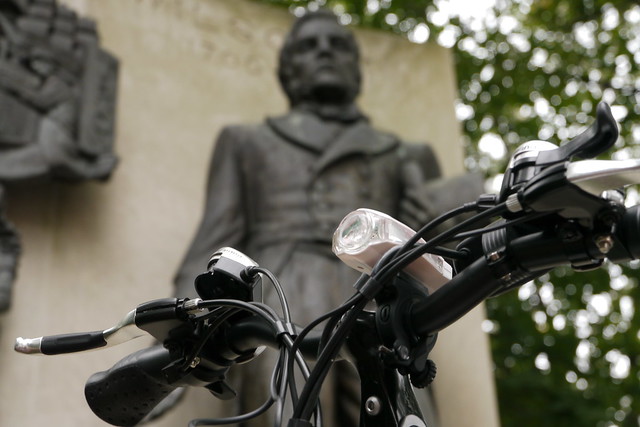
At Arlington Center, the Pietzo posed in front of the memorial for Samuel “Uncle Sam” Wilson.

P1040094

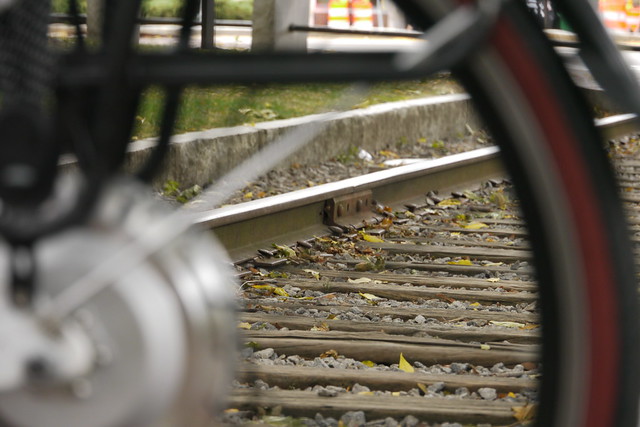
The Minuteman Bikeway was built on a former railroad line. Here you can see a section of the old rails.

P1040097

P1040098


Mile 4.4:
A quick stop at Spy Pond gave some photo-op moments.
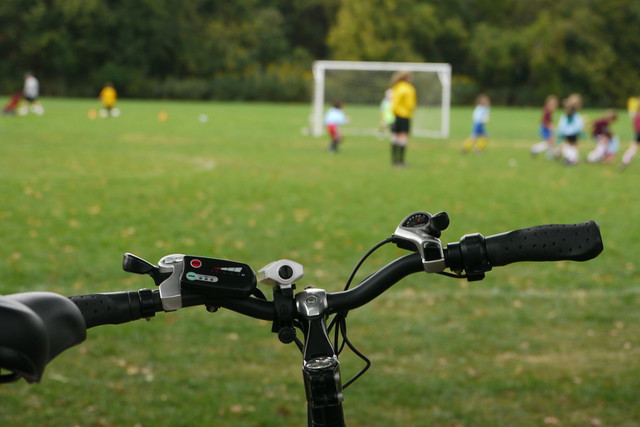
P1040100-HDR

P1040102-HDR


Mile 5.1:
At this point, we reached the Klondike Field which was bustling with a couple of soccer games.  Since cycling is an outdoor sport, finding a bathroom can sometimes be problematic.  At this soccer field there is a Port-a-Potty which is a welcome sight for cyclists.

P1040105

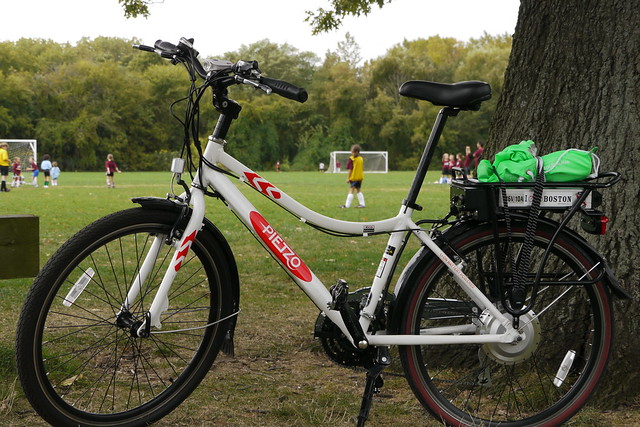
I thought the white, red, black color scheme looked particularly striking here with the field as a backdrop.

P1040103


Mile 5.8:
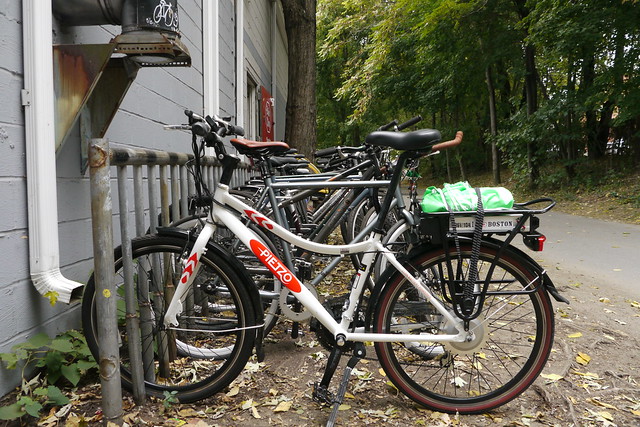
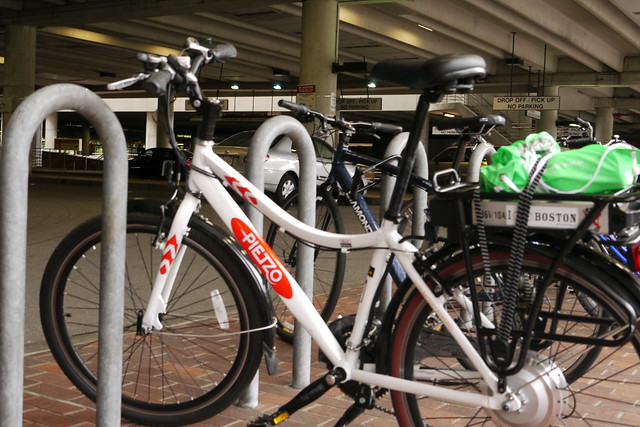
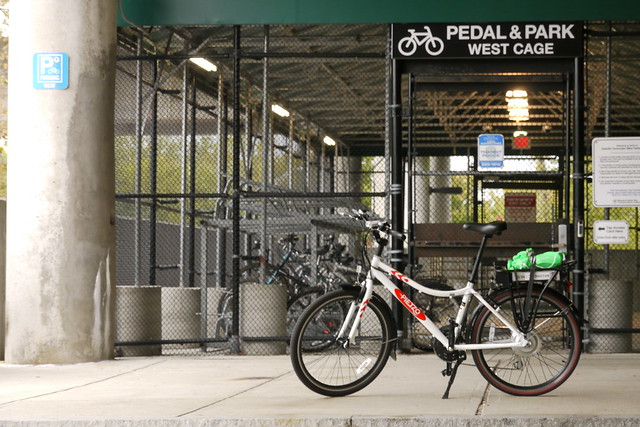
The Alewife T-station is the Northern terminus of the Red Line subway.  It is equipped with plenty of bike racks and cages.  You can park your bike here and take the subway into Boston and other destinations.  This is also the end of the Minuteman Bikeway.

P1040106-HDR

P1040111

P1040108

P1040110

From Alewife, I traveled along Alewife Brook Parkway through two rotaries into Concord Ave.  As there were some bridges to climb along this stretch, I turned on the power assist and the motor helped me go through them. Power assist was also very helpful along Concord Avenue towards Harvard Square.
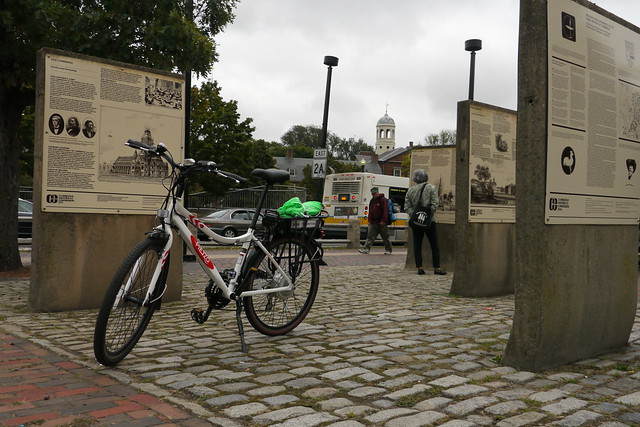


Mile 7.8:
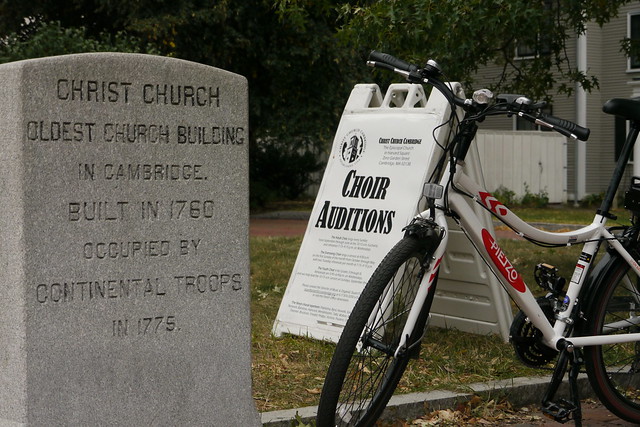
Harvard Square is another favorite destination in the area.  The place is bustling with tourists, students and residents.  The Pietzo is very much at home in Harvard Square.

P1040117

P1040116

P1040124

P1040130


Mile 10:
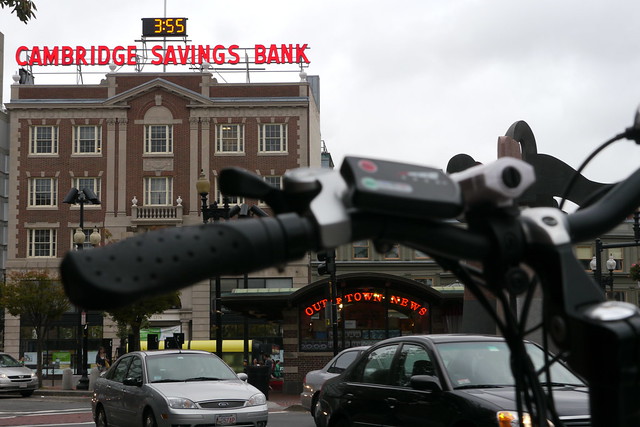
From Harvard Square, I rode along Mass Ave through Central Square and the MIT campus.  Mass Ave is a busy street; however, on it there is a special bike lane with clearly marked lines.  I felt very comfortable riding a bike on this stretch.

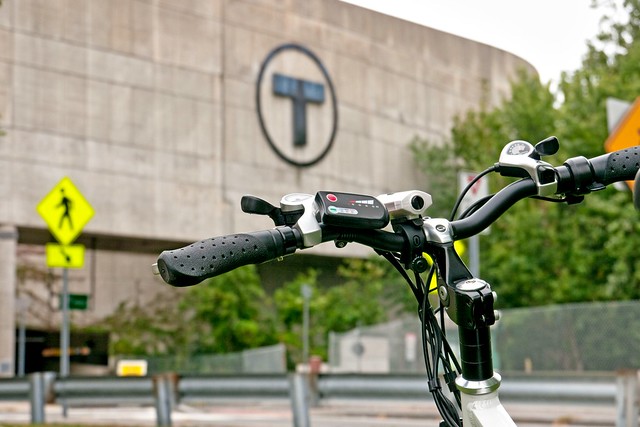
At mile 10, just after the MIT campus, was the Mass Ave Bridge connecting Cambridge and Boston at either side of the Charles River.

P1040135

P1040136

P1040140

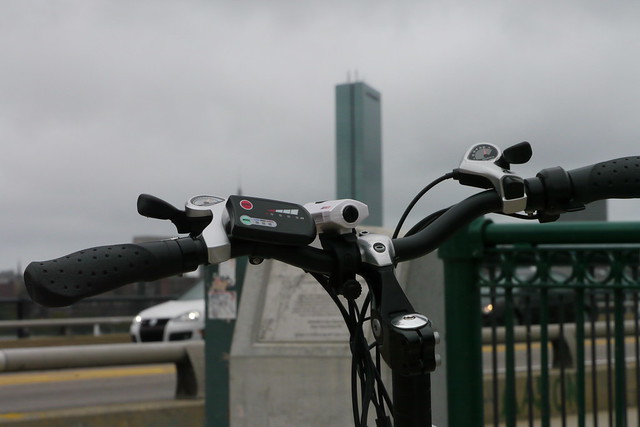
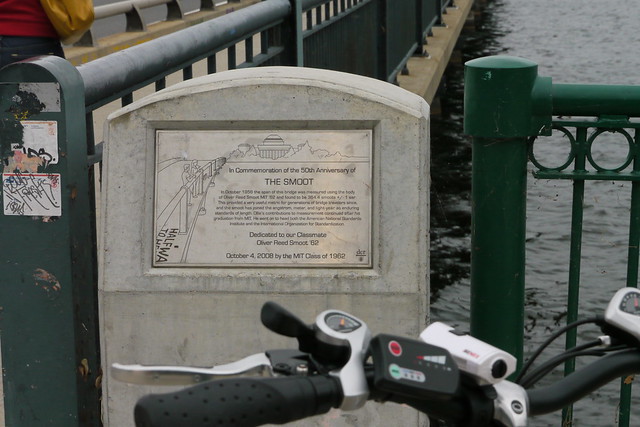
The Pietzo Journey specification does not mention its length. I wonder how long the bike is in Smoots unit.

Strong head wind would normally make crossing the bridge quite a challenge.  Power assist, however, made it quite easy and enjoyable.  At this point of the journey, the sky grew darker and it started drizzling.  Therefore, I decided to pick up the pace


Mile 11.2:
After crossing the bridge into Boston, I turned left into Marlborough Street and rode it to the Boston Public Garden which was at mile 11.2.  Inside the park, there was a sign prohibiting bike riding, so I simply walked the Pietzo to the other side of the park where Charles St intersects Beacon St.  From there, a short, power assisted ride along the Boston Common brought me to the State House.
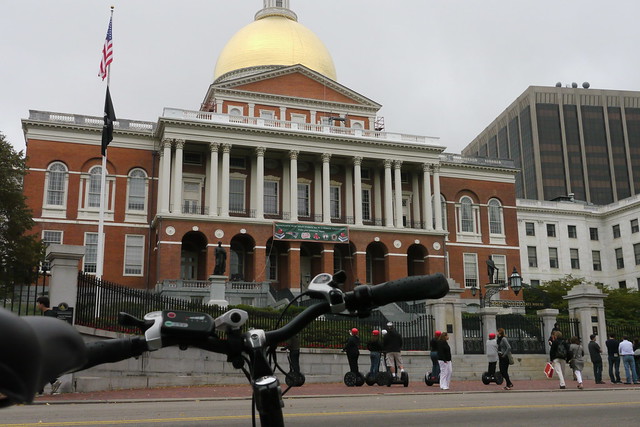
Mile 12.0:
The State House which is located at the North East corner of the Boston Common is on top of Beacon Hill.  It was a fitting final destination for this power trip.  According to Wikipedia, the State House was completed in 1798. At that time, long before automobiles and bicycles were invented, horse buggies roamed the Boston streets.  As I place myself in the18th century setting, this picture with the Pietzo gazing at Segway-riding tourists reminds me of the Town Square scene from the movie Back To The Future.

P1040144


As rain and darkness closed in, I started my journey home down the hill along Beacon Street.  The Pietzo came with both front and rear lights which proved to be very handy in the waning light.  The trip home was taken almost entirely with electric assist.  My goal was to get home before night time.  During these high speed runs, several times I had to stop hard. The Pietzo brakes did not disappoint.  Going fast on an electric bike is quite exhilarating.  Hills are not a problem anymore.  The Minuteman Bikeway stretch between Alewife and Lexington is one long incline which normally takes quite an effort to climb.   With the Pietzo, it was quite easy.  Having said that, one fast alpha male biker actually passed me on the Bikeway going uphill.  So a strong cyclist can actually go faster than I on an eBike.  I was able to “keep up” with him in the sense that he stayed in sight a lot longer than he would if I were on a regular bike.

The journey home took considerably less time because I went as fast as I could and did not stop for photos.  I got home before dark and after the 24 mile journey to Boston, the battery indicator said there is still 75% charge on the battery.

A couple of things I learned from this trip.  First is that the Pietzo can take me to Boston and back on a single charge with plenty to spare.  The ride was enjoyable and you still get exercise, the amount of which you can control by how much power assist you use.  It is indeed a viable commuting alternative.  Second is that the bike route from Lexington to Boston via Cambridge is quite good.  A large part of it is on the Minuteman Bikeway. Much of Mass Ave has a designated bike lane.

It was indeed a very exciting adventure and I would like to thank the people at Pietzo for making the trip possible.


Related links:
Slide show of photos

Wednesday, September 29, 2010

Pietzo Electric Bike Part 1

While having breakfast one morning, I heard a short blurb on the News about an electric bike store in Burlington, MA.  I was intrigued enough to look them up on the web and connect with Nora Gildea, VP of Marketing at Pietzo. They were extremely nice and agreed to lend me a bike for a day.  Actually, almost 2 days because I picked it up on Saturday evening.

Not a very strong biker, I have always been curious about motorized bikes.  The weed-whacker, internal combustion engines have been available as kits for years.  Recently, the electric motor variants are entering the scene.  If oil mess and noise are for me cons of the IC engine type, lack of power and limited range are my concerns with electric motors.  Therefore, I very much welcomed the opportunity to test an e-bike for a day.

Pietzo makes several different models ranging from a 20” folding model to a 26” hybrid-type bikes.  The one I tested was a model called the Journey.  In part 1 of this blog, I am going to talk about the bike itself.  In part 2, I will write about my experience riding the bike from Lexington to Boston and back (for now, I’ll just say that Paul Revere would be jealous).

The Pietzo Journey is a handsome, modern-looking bike.  It is painted white with bright red lettering. I won’t go into every detail of the specification because it is available here: Pietzo Journey Spec


The Journey is equipped with a pair of caliper brakes which work quite well. In one occasion during my trip to Boston, I had to stop in a hurry. The brakes did not disappoint. Three Shimano gears in front and seven in the back give the Journey a total of 21 gear combination. The Shimano SIS index shifter feels plastic-y and was quite stubborn.  It was quite hard to shift from one gear to another.  Fortunately, with motor assist, I did not have to shift much at all.


As I am looking at this picture of the SIS index shifter, I noticed for the first time, that there is black knob at the thumb position.  Could it be that this is the button to press to shift up?  I was grabbing the lever to shift up and it was fighting me. Indeed, the Pietzo rep later explained that the button is for shifting up.  Sorry, my bad.

One entry in the data sheet of particular interest is the one that says Weight: 57 lbs.  As with any electric bike, the battery and motor adds to the weight of the bike and I suspect you won't find an electric bike out there that weighs in at less than 50 pounds.  If you are riding it, you don’t notice this weight.  It was when I picked up the bike by the saddle and tried to swing the hind wheel around, that I noticed the weight of the bike.   If you live on the 4th floor apartment and have to lug this bike up the stairs, you’ve got yourself not only a bike but also a set of weights.

The Journey comes with a very compact Lithium-Ion battery, the same type that powers most laptop computers. 


The battery pack mounts neatly under that rear cargo rack.  With a key, you can remove it and take it with you inside to be recharged.  The charger is a black plastic brick which is deceivingly very lightweight.  Indeed, a careful reading of the label reveals that there is nothing inside the box, not even electronics.


Charging the battery can’t be any simpler.  If you can charge a laptop, you can charge the Pietzo. The charging socket is on one side of the battery, covered by a rubber plug.  One minor concern regarding the protective rubber plug is that it is small and easy to lose.  The gas cap of most cars now comes with a plastic tie-down so you don’t lose it while filling up.  Not a bad idea to adopt.

There are two ways to operate the motor of this bike: power assist or throttle control.   A controller box located on handle bar left contains a master On/Off switch and a Mode button.


When switched On, the motor is ready for work.  The Mode button lets you select how much motor assist do you need which determines your speed.  To operate the motor without pedaling, a right-thumb throttle control is provided at the handle bar right.  My wife thinks that the controller box is too far for her finger to reach. She prefers the buttons to be closer so she can operate them without removing her grip.

The motor itself is inside the hub of the rear wheel.  It is a 36V 350W brushless motor with reduction gears.  As far as the fun factor, on a scale of 1 to 10, this motor is rated as 8.  At least that is what the engraving seems to imply.


The power assist mode is quite interesting.  Somehow it has to know that you are pedaling and therefore needing assistance.  It does this by using a force sensor attached to the bottom of the pedal crank.


The red rectangular box below the crank seems to be the pedal sensing device.  When you pedal, it sends a signal to the electronic control unit which in turn sends power to the motor.  How much power to apply is determined by your setting: low, medium, or high.

The Journey comes with a set of two keys.  One is to release the battery pack and the other is for ignition.


Ignition, you ask?  What part of the bike needs igniting?  Relax and rest assured that this is just a carry over term from internal combustion engines of old.  Think of similar archaic phrases like “dial this number” or “time ticking away.”  How many of you own a phone with a rotary dial or a watch that ticks?

Despite being heavier than a non-powered bicycle, when you ride the Pietzo, it still feels like a bike, not a moped.  Without using power assist, going up hill does take more effort.  But the point of an electric bike is power assist.  Even though you can operate it using the throttle control, the fun comes when you leave the throttle alone and pedal as you would any bike.  The motor then kicks in and gives you a boost.  My wife says it feels like being pushed by Superman.


Not far from where we live there is a street that goes up a very steep hill.  I am not able to go up that hill on my bike.  With the Journey, I was able to do it with little pedaling effort.  My wife thinks that power assist kicks in quite seamlessly and she has no problem with it even in her first ride.  She was also able to conquer hills that she would not be able to climb otherwise.

In the game of golf there is a handicap system that is used to enable players with different abilities play together competitively.  I am not a very good cyclist, but I do usually bike faster and farther than my wife can.  On a Pietzo, she can definitely leave me in the dust.  With the Pietzo, a lesser able cyclist can be on par with stronger ones.

Related Links:
Pietzo Electric Bike Part 2

Saturday, August 21, 2010

Dynamic Range in Audio

In last week’s posting we examined dynamic range in photography.  We saw how visual information gets lost in areas outside of the range.   Today, we are looking at the same issue in the auditory realm.  Our ears can hear very faint sounds and can tolerate extremely loud ones.  Electronic devices, however, often have a narrower dynamic range.  We have all heard radios that are cranked so high they emit painfully distorted sound.

I have a Lumix GH1 camera that has an external mic input.  It takes a certain range of audio levels.  I also own a Zoom H4 audio recorder that has a line-out output.  Unfortunately, the output range of the H4 is wider than that of the GH1.  When you connect them directly, the result is highly distorted sound on the GH1.

To fix this incompatibility, I decided to make a simple voltage divider circuit in-line with a mini-stereo cable.  Since you need a cable anyway to connect the H4 to the GH1, this small circuitry does not add much to the setup.  This DIY attenuator is documented in the following video.


The Zoom H4 is an audio recording device.  You can take the WAV files it produces and sync them out with the video from the video camera in post production.   However, for quick edits, the cable with the built-in attenuator proved to be quite useful.  It reduces one extra step in post.  The following video shows the setup in action in a field interview situation.


In summary, the DIY attenuator is simple to build with Radio Shack resistors that I happen to have in my electronics parts bin.  While I needed it for my Lumix GH1 and Zoom H4 setup, it can be easily adapted for other applications.

Saturday, August 14, 2010

HDR Photography

In photography, Dynamic Range is the extent between the darkest and the brightest objects that the camera can capture.  Dark objects outside of the range will be rendered as black without any details.  Conversely, objects brighter than the range will be completely washed out, also with no details.  Film is generally thought of as having a higher Dynamic Range than digital.  However, at the end of the day, it also depends on the Dynamic Range of the medium the photograph is rendered. Be it photographic paper, computer monitor, etc..

Due to this finite Dynamic Range, a photographer must choose the correct exposure for the main object of the photograph.  Consider the scene in picture 1.


Picture 1

Here the exposure is set for the foliage outside (1/80 sec, F/11, EV -1.3 step).  The flowers in the foreground are completely dark.  Picture 2 is at the opposite end of the range.


Picture 2

In the second picture the flowers in the foreground are properly exposed but the foliage outside is completely washed out (1/5 sec, F/11, EV + 1.3 step).

High Dynamic Range (HDR) photography is a technique to increase the dynamic range of a photograph by combining multiple pictures of an object taken at different exposure levels.  Most modern digital cameras have a feature called Auto Bracketing.  When activated, the camera will take 3, 5, or 7 successive pictures at different EV levels.  The result is multiple shots of the same object at different EV levels.

There are software tools that can take these multiple exposure shots and combine them into a composite HDR picture.  Photomatix is one, Oloneo is another.

The following is an early HDR experiment that I did using the beta version of Oloneo. 
  1. For the scene I selected a vase of flowers on the living room coffee table. Outside the window is a bright New England summer morning.
  2. Using a tripod, I took two sets of 5 auto-bracketed shots with my Lumix GH1.
  3. The 10 pictures I then imported into Oloneo as an HDR Tonemap project.
  4. Slide a couple of buttons and: Voila! An HDR composite was created.
Picture 3 shows the HDR composite that was created by Oloneo. It shows a properly exposed foliage outside the window as well as bright flowers inside.  The series of pictures on the left hand column are three of the ten pictures that were used for the composite.


Picture 3
(click here for high resolution version )

In summary, HDR photography is quite accessible to the masses.  It is made possible by the ubiquitous auto-bracketing feature of digital cameras and by HDR compositing software.  Oloneo is quite easy to use, even to the complete newbie to HDR.

Related HDR links:

http://en.wikipedia.org/wiki/High_dynamic_range_imaging
http://www.petapixel.com/2010/07/13/easy-hdr-editing-with-oloneo-photoengine/
http://www.flickr.com/groups/oloneophotoenginetalk/

And here is a very early form of HDR circa 1910:
http://www.boston.com/bigpicture/2010/08/russia_in_color_a_century_ago.html